In my attempt to organize my new craft room, I realized I needed a place for my lists. I love to make lists, it makes me feel organized...and let's face it, random sticky notes everywhere just didn't accomplish that "organized" look I was going for! So my remedy: a chalk board to hang on the wall so I can keep my lists in clear view and update them as needed. I'm pretty
particular, picky about certain things (I do bear the nickname Picky Nikki with good reason). So I searched for a chalk board to purchase and none of them worked for me, none of them screamed, "Pick me to live in your craft room!", so I decided I would make one!
It was very easy, and the only thing it really took was time, and about $10.00 (if you don't already have any of the supplies). So, here is how I did it, so you can maybe make one also!
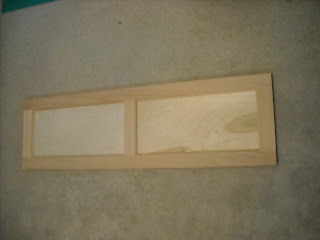
First of all, I have a lot of random collections at my house. I'll save something with the thought of making it useful one day. Like this cabinet door for example:
 |
| It has the perfect potential for a chalk board! |
If you don't have a random cabinet door laying around your house, try checking with your local cabinet company. They usually have rejects and wrong sized doors that they will make you a deal on. I snagged this one from the company I used to work for, it was a perk that it was free...but usually they won't charge you more than $5 - $10 per door.
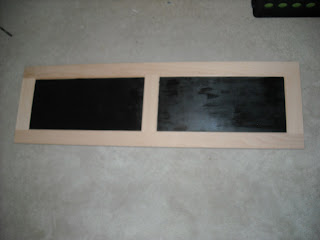
So I purchased some chalk board paint from Wal-Mart for just under $5.00. I read the instructions and painted the inside panels I wanted to use as the writing surface.
 |
| I applied 2 coats, waiting an hour for drying between coats. |
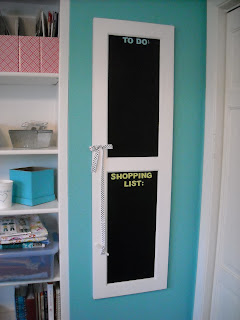
I didn't take a picture of the next step, but you can see it below. I painted the outside rails of the door white, to match the craft room. I just used acrylic paint I had in my collection. Being that it was white paint, it took about 3 coats and dry time. Once it was completely dry, I drilled holes in the back and hung it on the wall.
I decided to title my lists, they are on-going lists of: TO DO and SHOPPING LIST. For these titles I had some foam sticky letters I had gotten from the Dollar Deals and Target a few years ago. Finally got to use them!
I also needed a way to attach my chalk, because if it wasn't attached I would be constantly searching for it! I thought of ribbon, quick and easy. I have a plethora of ribbon, so I picked black and white polka dots to go along with the paint colors. I just tied it around the chalk and then used a clear push pin to attach the other end.
 |
| Ta Da! My new chalkboard...I'm very pleased with the turn out! |
 |
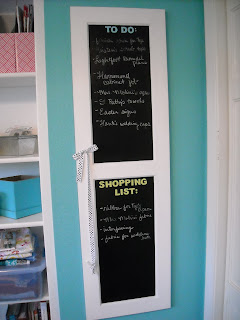
| Those lists are filling up fast! |
And folks, that's how the cookie crumbles! =) Now, it's time for me to go tackle a few items on that To Do List!


Nikki,
ReplyDeleteThat looks great! You do have a lot to do!
is finish my quilt on your list?
ReplyDeleteIt is...won't be there this week either, but we'll get them finished! =)
Delete